
Preview is a small all in one control found at multiple places in the NRGeditor. It allows you to inspect a different type of assets. The control is versatile and adjusts itself depending on the type of resource you select. It is mostly used by the File Explorer and the Library to preview Lua scripts, GLSL shader code, sounds, videos, fonts, geometry, textures etc...
 |
 |
 |
Display
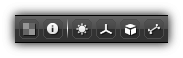
Control the visual aspects of the preview while dealing with 3d shapes.
| Icon | Shortcut | Description |
|---|---|---|

| ~ | Switch between a checker or the default View3d gradient background. |

| I | Toggle on/off information related to the asset being inspected. |

| S | Enable or disable shading for the active preview shape. |

| C | Show/hide global space axis. |

| Tab | Cycle through the different shading mode; shaded, shaded with wire frames or wire frames only. |

| B | Show or hide the active mesh skeleton joints and bones (if any). |
Shapes
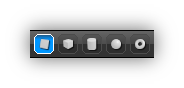
Allows you to select which 3d shapes you would like to used to render the asset.
| Icon | Shortcut | Description |
|---|---|---|

| 1 | Proportional plane (respect the aspect ratio of the asset). |

| 2 | Use a 3d cube to preview the asset. |

| 3 | Preview the asset on a cylinder. |

| 4 | Apply the asset on a sphere. |

| 5 | Test the asset on a torus. |
- Warning
- When previewing a texture; by default, all textures are using the usage type
External; which means the texel data is represented as a regular 2d or 3d texture. However, the type of usage can also be set toStaticorDynamicwhich will cause the texture to be mapped as a one-dimensional array on the GPU memory. In that case the texture cannot be represented directly as it is abstracted; instead, the preview will be replaced by a checker pattern.
Controls

Change the type of navigation control that you want to apply to the preview shape. Each specific mode determines the default behavior of the Left Button or single touch (mobile device).
| Icon | Mode | Shortcut | Description |
|---|---|---|---|

| Pan | Shift+Alt+LB or MB | When pan mode is selected click and drag using your left mouse button. Even if the pan mode is off, you can pan the view using the middle button. |
 / /  | Rotate/Arcball | Alt+LB | Allows you to rotate the preview shape on the XZ axis or by using an arcball where the sphere center is located in the middle of the preview viewport. |

| Zoom | Ctrl+Alt+LB or RB | Use the Left Button to zoom if turned off you can always use the Right Button and drag up to zoom out and down to zoom in. |

| Picker | Once this mode is enabled hover your pointing device over the preview area to display the RGBA value of a specific pixel. To display normalized RGBA values hold the Shift key. |
Additional Shortcuts
| Shortcut | Description |
|---|---|
Tab | Cycle through the available shading mode (custom meshes only). |
H or Left Button x 2 | Reset the preview shape transformation. |
A | Switch the rotation method between arcball rotation and turntable. |
+ or Scroll Up | Zoom in. |
- or Scroll Down | Zoom out. |
- Note
- To compare ie. two texture inside the Library hold the
Ctrlkey to prevent resetting the transformation while switching the preview between the two textures.
Texture
Specific functionalities when dealing with 2d, 3d and cube map textures.
Color Components
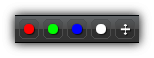
Only available when a texture either 2d/3d or a cube map is selected. This section of the toolbar control which color component(s) will be used to display the texture within the preview area. To enable or disable a specific color simply toggle it on/off using its dedicated color buttons.
To flip the texture upside down toggle the ![]() icon. Take note attachments texture type are already flipped by default as they are technically updated by a frame buffer is oriented using the OpenGL coordinate system (proportional plane only).
icon. Take note attachments texture type are already flipped by default as they are technically updated by a frame buffer is oriented using the OpenGL coordinate system (proportional plane only).
- Note
- In the case of the alpha channel, the tool button will enable or disable alpha blending to allow you to visualize clearly what part of the texture is affected by the alpha channel.
3D Slice

Available when a 3d texture is previewed; use the + and - buttons to change the current slice to visualize. The slice range is delimited by the 3d texture depth and always start by default from the first slice (index 0).
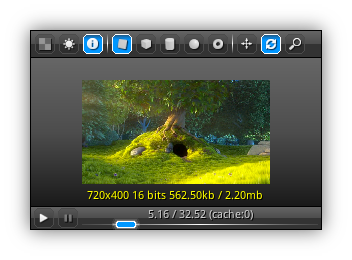
Playback
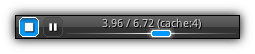
Available when either a video buffer or a video texture is active; the playback controls transform the preview area into basic video/audio player. You can seek the stream with ease by manipulating the slider located on the right side of the playback buttons.
Note that the slider will display the actual and total playback time (where 1.0 equals to 1 sec.) as well as the number of cached frames.
| Icon | Description |
|---|---|
| | Start or stop the current stream playback. |
| Pause or resume the playback. |
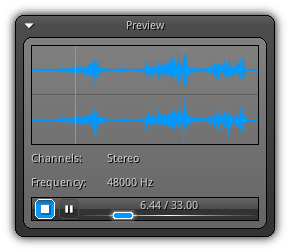
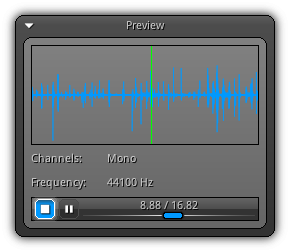
SoundBuffer
The preview control can also be used to playback the existing sound buffers available in your Library. Additional information can be found in the sound buffer preview; such as the channel type and the frequency rate of the stream and provides you the waveform representation of each channel.
| 
|
The playback controls are basically the same as the one used by the video player (see Playback). Scrolling the slider will seek the audio stream, and you can play, pause and stop it by using the dedicated buttons for these operations.
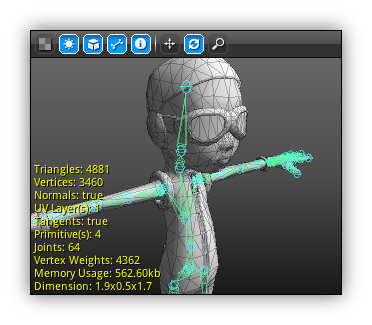
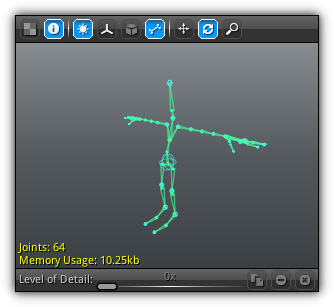
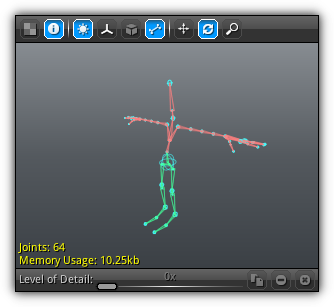
Skeleton & Armature
Skeletons and armatures are also displayed in the preview when an asset of the type is selected. In the case of an armature, the bone highlighted in red (default) represent that the bones have been masked.
| 
|
Optionally if a mesh is associated with the base skeleton draw in the preview area it will be displayed as well along with its geometry information (vertices, indices etc...).
Track
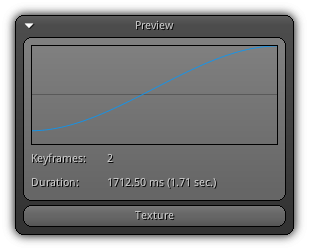
Provides a visual representation of the underlying curve handled by the track. Additional information can be found in the lower section about the number of keyframes the track contains as well as its duration.
Path
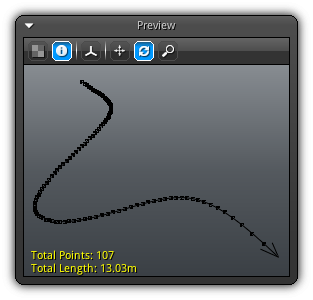
Display the tri-dimensional representation of the selected path asset. Controls points and the direction is also visually represented. In addition, located at the bottom left of the preview (when the info. button is toggled) you can find them the total number of points that creates the path along with the unscaled length displayed in meters.
Script
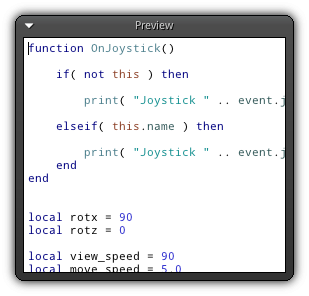
Display a read-only version of the selected script.
Shader
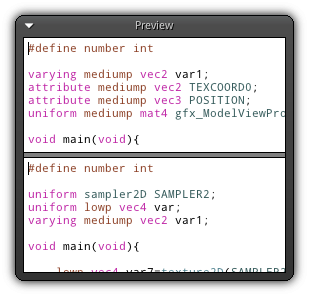
A two-sided layout that presents a read-only version of the vertex shader code (up) and the fragment/compute shader code (down). To resize the two areas simply drag and drop the handle.
|
|